
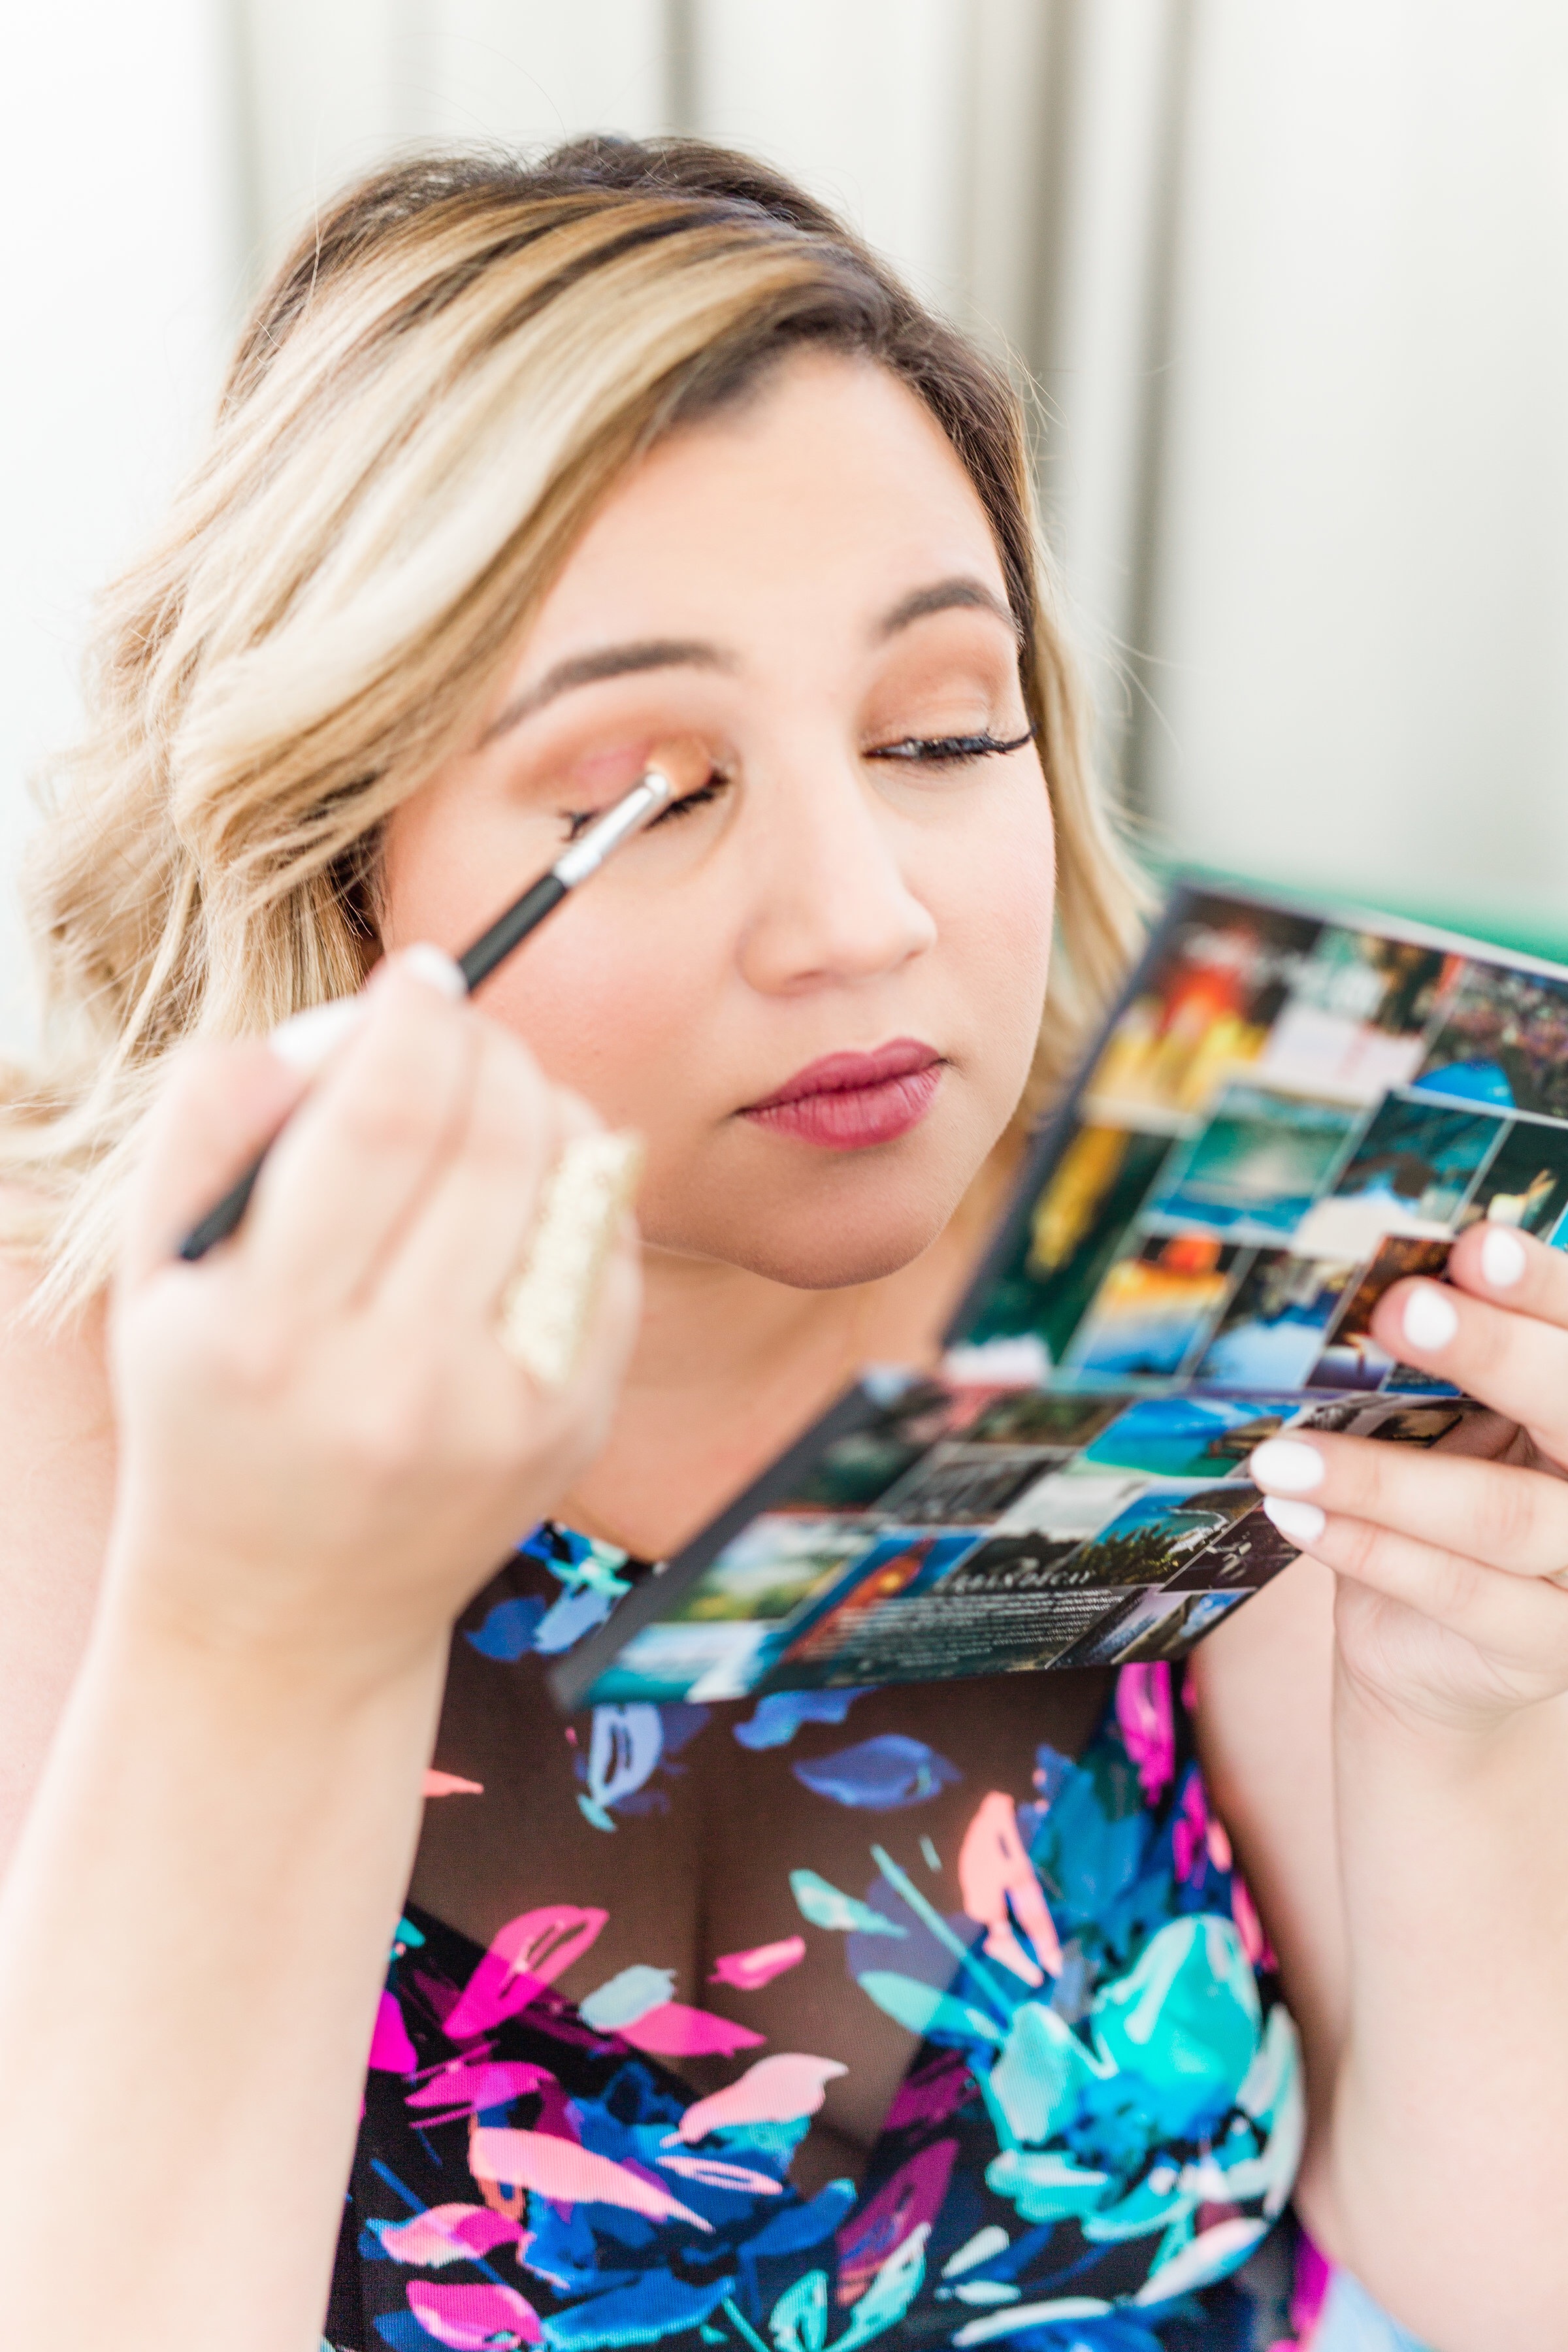
I was floored when I asked my readers on Instagram if they cleaned their make-up brushes and many of them said no. Yikes! I had just cleaned all of mine because I had been getting over a cold and didn’t want to be spreading the germs around. I was pleased to know though that they did want to know how I get mine squeaky clean and the top 5 make-up brushes I use.
I have used so many make-up brushes though the years but keep reaching to the same 5 brushes when applying my make-up and they travel with me everywhere too. I have explained why every brush is a must for me or anyone wishing to create a make-up brush collection and I have included a drugstore and department store option depending on what you want to buy.
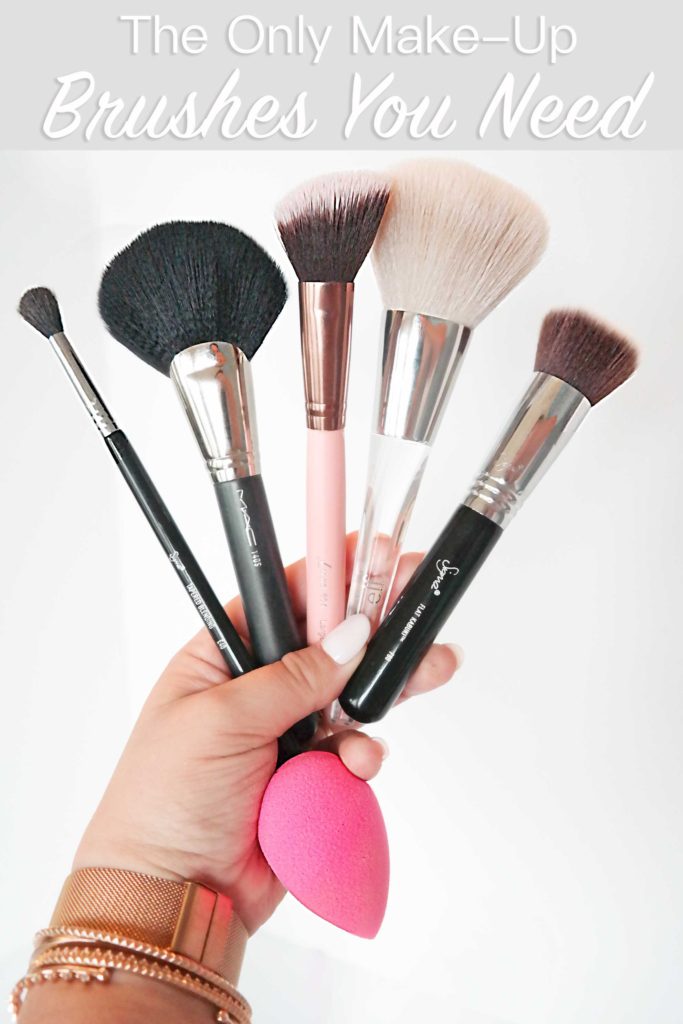
Beauty Sponge
You’ve seen these cute egg like sponges everywhere because when applying your foundation they truly do leave an airbrush look covering every pore and imperfection on your skin. These sponges are meant to get wet when applying your foundation. I wrote a post about how to clean your beauty blender that you should definitely read to keep it looking new.

Foundation Brush
It’s true that I highly recommend a beauty sponge but I like using a flat-top kabuki foundation brush when I’m in a hurry and need to put on my foundation quickly. Always apply foundation in a circular motion to blend, stipple on areas that needs more coverage and drag to your neck to blend in.
Bronzer Brush
A good bronzer brush will make your job of adding warmth to your face in one swipe so much easier. The one I love the most is by MAC and has a broad fan shape which makes it easy to apply on your hairline, under the apple of your cheeks and under your jaw; places where the sun would naturally hit your face. In order for bronzer not to look streaky a bigger brush with a fan shape can create that in one velvety swipe on your face.
Blush Brush
Unlike the bronzer brush, your blush brush should be smaller to “pop” the color on your cheeks. Blush should look like a natural flush on your face and should sit at the highest part of your cheekbone for a youthful glow and pop of color.
Eyeshadow Blending Brush
Many women I know don’t do a lot of eye shadow make-up but it’s important to at least define your creases and wear a different color on your lid for a date night look. I can apply an eye shadow on my lid with my ring finger but you need a tapered blending brush to define my crease and blend the lid color. A tapered brush will be super soft and avoid any streaks or patches of color.
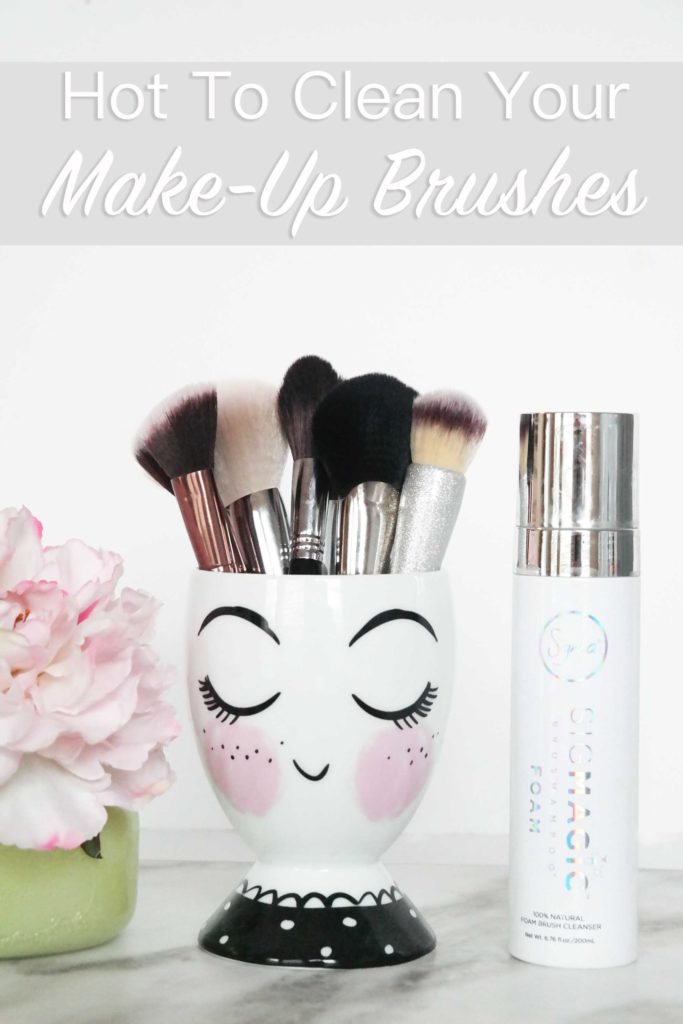
How To Clean Your Brushes
I don’t know why I haven’t shared this before but many of you on Instagram stories were very surprised at how clean my make-up brushes and sponges looked and that’s because they were super clean. Warning: the more you wait to clean your brushes, the more dead skin cells, make-up and bacteria accumulate on them so washing them at least once every two weeks will make it an easier job for you. Also, if you buy a more expensive brush, washing it will maintain it in good quality. Do not wait to wash your brushes or it will be such a pain the day you decide to wash them because the make-up will never stop coming out of your brush.
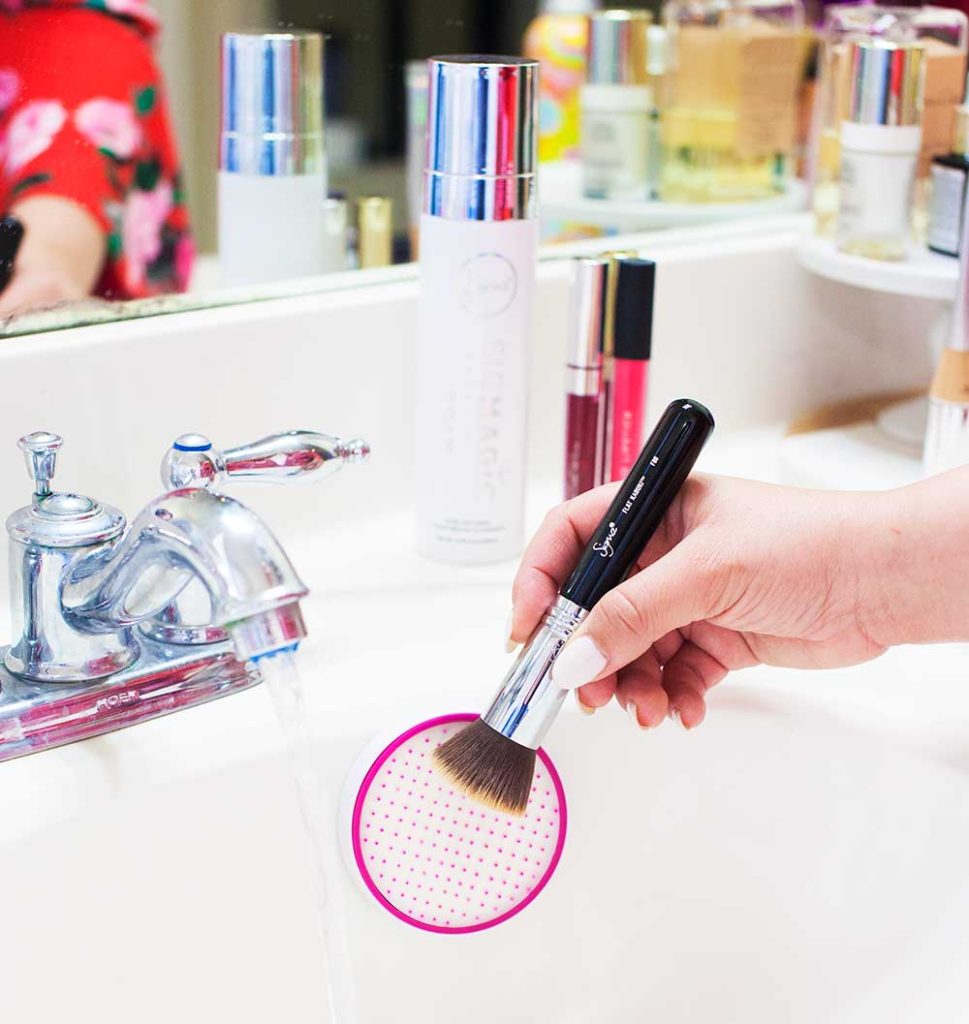
What You Need:
Liquid Soap (I like Ivory or Method)
Tee Tree Oil (from the grocery store) or an Oil Face Cleanser (that you don’t mind wasting)
- I like to wash my brushes one by one so I use a plastic cup and I put 3 pumps of soap and 1 pump of oil and swirl my brush in the mixture. The oil loosens the make-up from the brush and the soap helps clean the brush. I swirl the brush in the mixture and then rinse it with water and swirl it in the mixture again. I examine the brush bristles closely for any build-up. If the build up is massive I let the brush sit in the mixture for 10 minutes to loosen the make-up.
- If the mixture is too dirty after swirling and soaking your make-up brushes then dump it and create a new one.
- Once the brush starts looking clean I remove any remaining makeup and oil traces with liquid soap before laying it down flat to dry on a surface covered with paper towels. Always reshape your brush when setting your brush down to dry.
- I then dump the mixture and start again with the next brush.
- There are some really cool silicone brush mats and gloves that you can use to clean your brushes and I’ve linked them below. One of my favorite brush cleaners is the one in the featured photo which has bristles and soap in one and sticks to your sink so you never forget to clean your brushes. I’ve linked that one below too!
You’re going to be surprised when you see how much grimey, yucky make-up comes out of your brushes with this oil and liquid soap mixture!